LibreHealth Toolkit installation
There are different installation options for the LibreHealth Toolkit (LH Toolkit) project.
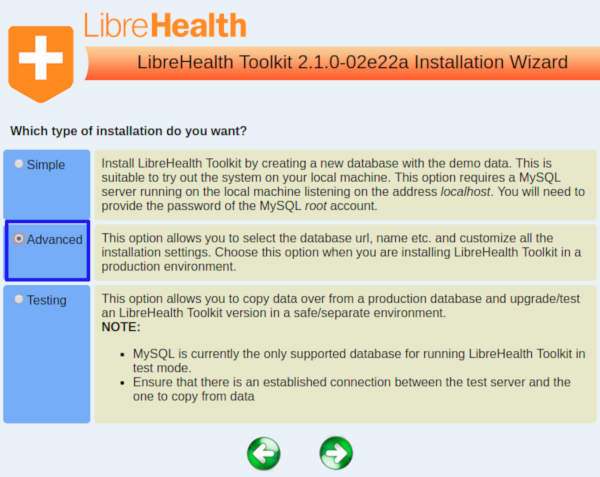
As this guide is intended primarily for developers, “Advanced” installation is described. Other options can be chosen when needed.
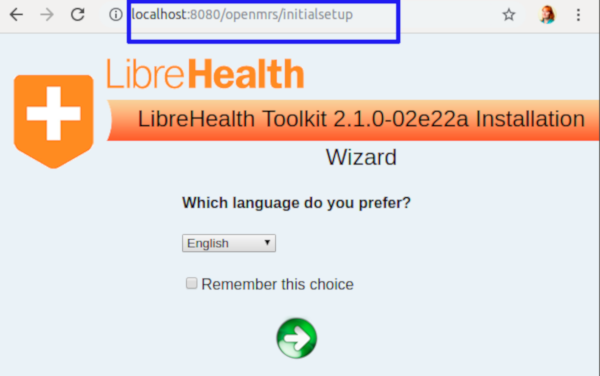
After completing “Running the project” guide, navigate to the URL where the project is running. Select the desired language and proceed to the next step.
The “Advanced” installation gives more flexibility over selection of database url, name and other parameters.
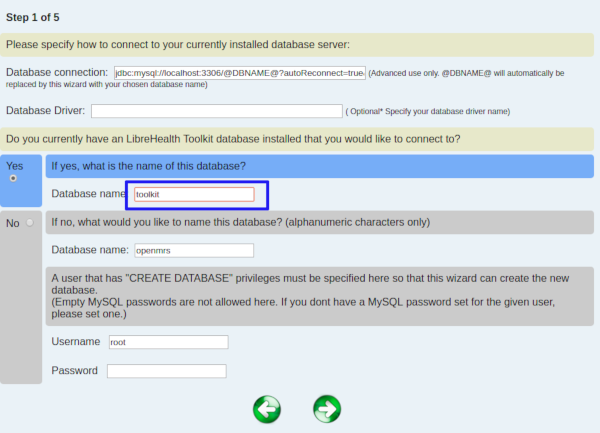
Step 1:
Note
You need a MySQL database running to install LH Toolkit locally. The easiest way is to run it in a Docker container (see the guide on Docker installation ). Type the following command in the terminal: docker-compose -f docker-compose.dev.yml up -d db. Hereinafter installation is described as if you are running MySQL database as stated. Select “Advanced” option. It is mainly used in production environments.
On the next screen, enter database name toolkit. Click Next.
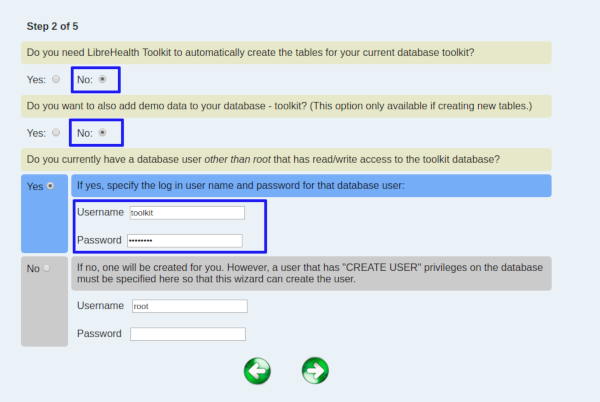
Step 2:
Answer “No” to the questions on the next screen and provide the following credentials for the database:
name:
toolkitpassword:
password
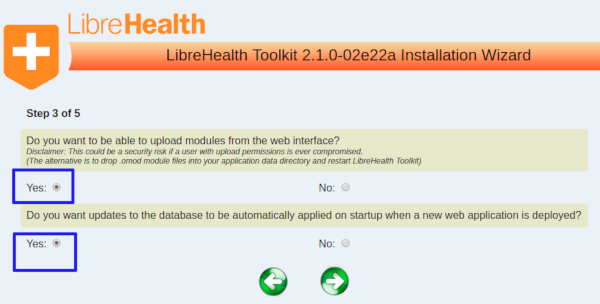
Step 3:
Answer “Yes” both times when you are prompted whether to upload the modules from the web interface, and whether to enable automatic updates. Proceed to the next step.
Step 4:
Step 4 is optional and is skipped in this type of installation. You will get to step 5 after step 3.
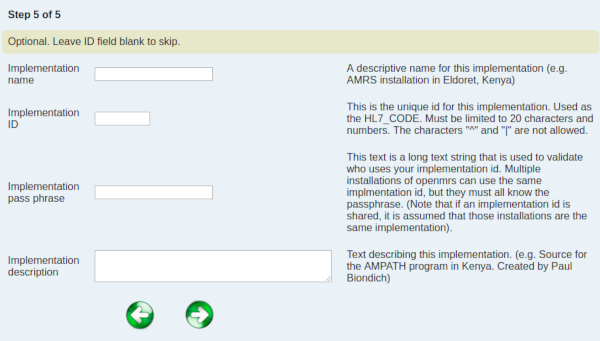
Step 5:
The next set of settings are optional. You don’t need to choose anything here. Click “Next” to review and apply chosen options.
After completing all the 5 steps of advanced installation, a screen appears, where all the details entered by the user and the installation directory are be specified.
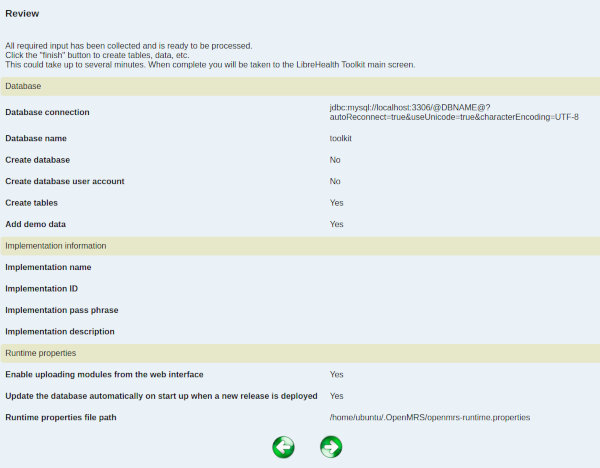
Make necessary changes or click “Next” to finish installation. You will see progress of completed tasks.

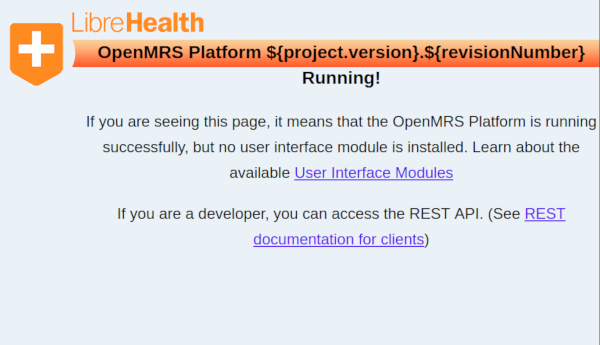
When installation is finished you will see this information alongside with helpful links.